Canuary Day 13 @TheOttHomestead @hesterathome8682 #canningwithfriends #cannuary #canuary #our3homesteads
Blog
The Ott Homestead Hester Rose Elrod #canningwithfriends #cannuary #canuary #our3homesteads
Making beef stock from smoked beef bones. Golden Afternoon Homestead is participating in Canuary with Summit Place and Ott Homestead.
Adding shelving to your greenhouse is an excellent way to maximize space, improve organization, and create an efficient growing environment. Whether you’re a seasoned gardener or just starting, well-built shelves can provide ample room for seedlings, potted plants, and gardening tools. This guide will take you through the process of constructing, painting, and installing wire mesh on your greenhouse shelves. The floor in the greenhouse is temporally covered for winter mode since it is built off the ground.
Step 1: Planning and Gathering Materials
Before you start building, it’s essential to plan out your shelving layout. Consider factors such as:
- The size of your greenhouse
- The types of plants you’ll be placing on the shelves
- Accessibility and airflow
Once you have a plan, gather the following materials:
- Pressure-treated wood or weather-resistant lumber (for durability)
- Screws and brackets for securing the shelves
- Wire mesh (hardware cloth or galvanized mesh)
- Wood stain or paint (for added protection)
- Saw, drill, and measuring tape
- Sandpaper
- Paintbrush or roller
Step 2: Constructing the Shelving
-
- Measure and Cut: Use a measuring tape to mark and cut the wood to the desired length and width for your shelves. Sand the edges to prevent splinters.
- Assemble the Frame: Create a sturdy frame by attaching support beams to the sides of the greenhouse or using freestanding shelf supports. Secure them with screws and brackets for stability.
- Attach the Shelf Base: Position the wooden planks on top of the frame and secure them using screws. Make sure to leave small gaps between planks to allow for proper drainage and airflow.

Step 3: Painting for Protection
Greenhouse shelves are exposed to humidity, moisture, and temperature fluctuations, so painting or staining the wood is essential.
- Choose the Right Finish: Use an outdoor wood stain or waterproof paint to prevent rotting and warping.
- Apply Paint or Stain: Use a brush or roller to coat the wood evenly. Let it dry completely before applying a second coat for added protection.
- Allow to Dry: Ensure the paint or stain is fully cured before proceeding with installation.
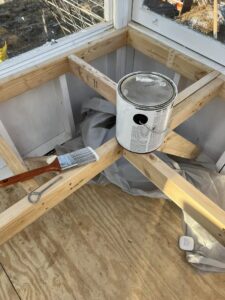
Step 4: Adding Wire Mesh for Stability
Wire mesh is a great addition to greenhouse shelves because it improves drainage, increases airflow, and prevents water buildup.
- Cut the Mesh: Measure and cut the wire mesh to fit the shelf dimensions using wire cutters.
- Secure the Mesh: Staple or nail the mesh onto the wooden planks, ensuring it is tightly stretched and secured at the edges.
- Smooth Out Edges: Use pliers to bend any sharp edges to avoid injury while handling plants. or add trim pieces to cover the edges.
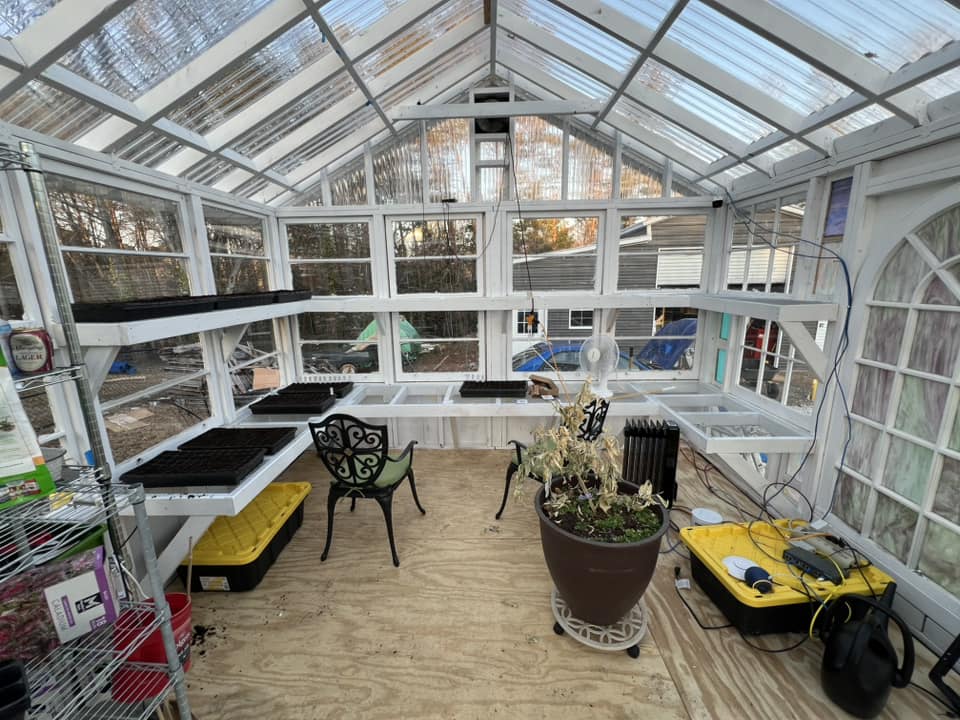
Final Thoughts
With sturdy shelving in place, your greenhouse will be more organized and functional. The combination of painted wood and wire mesh provides durability, aesthetics, and practicality. Whether you’re growing herbs, flowers, or vegetables, these shelves will help create a thriving growing environment.
Now that your greenhouse shelving is complete, it’s time to arrange your plants and enjoy the benefits of a well-structured gardening space!
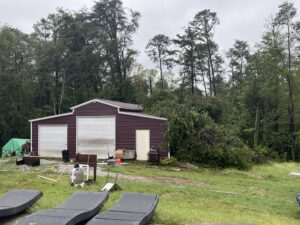
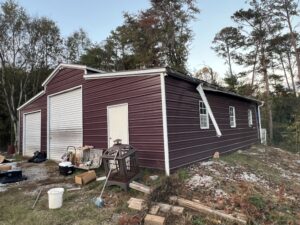
For the past three years, I have been slowly transforming my workshop into a space I could truly call my own. It started as an empty shell, and over time, I made steady progress—culminating in the installation of its very own 200-amp service last year. It was a labor of love, wiring outlets and planning for the future. My goal was clear: build 2×4 walls inside, insulate the structure, and finally organize everything to create a functional and inspiring space. Sure, there was a bit of clutter outside—a future project—but it was all coming together. Or so I thought.
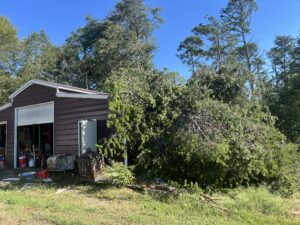
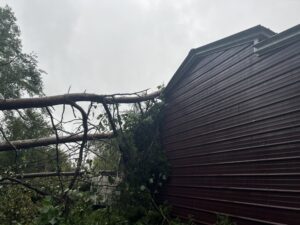
Moving into our home, I was always aware of the huge pine trees behind the workshop. Towering, majestic, but undeniably threatening, they weren’t on our property, leaving me powerless to address them. I hoped for the best but always carried a lingering worry. When the hurricane hit, my worst fears materialized. Four of those mighty trees came crashing down directly onto the workshop. As I surveyed the scene, the damage was staggering. The pines, alongside countless other downed trees throughout the woods, turned the once-promising space into a disaster zone.
Assessing the Damage
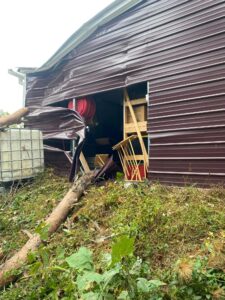
The aftermath was devastating. The roof, walls, and much of the interior were destroyed. Tools, projects, and my hard work lay buried beneath fallen timber and debris. Seeing the space I had poured so much effort into now reduced to wreckage was heart-wrenching. It wasn’t just a physical loss; it felt personal, a setback to a dream years in the making.
But as with any challenge, there was no choice but to move forward. The first step was navigating the insurance process. While the policy wouldn’t cover repairs, it did provide funds to replace the workshop. This silver lining offered an opportunity to reimagine the space—a chance for a fresh start.
Now that we have the check from insurance, it was time to get rid of the old building—but I couldn’t do it. I was put on strict doctor’s orders that prevented me from using tools, chainsaws, or other heavy equipment. So, we started by finding a team to remove the fallen trees. While they didn’t finish the job, they did clear the ones directly on the building. Still, the damage was extensive. The entire right side of the building’s roofline was a mangled mess, with the largest pine crushing that side and its branches tearing off the gutters.
We decided to list the old building on Marketplace. Surprisingly, it didn’t take long to sell. The buyer came with a crew of guys, and they had the building dismantled and removed in about half a day. Watching it go was bittersweet, but it marked the beginning of a new chapter.
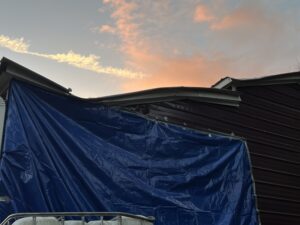
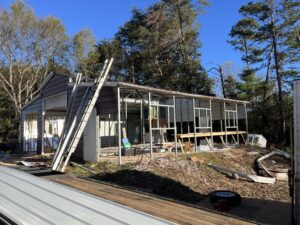
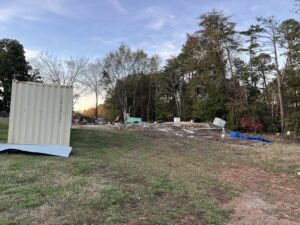
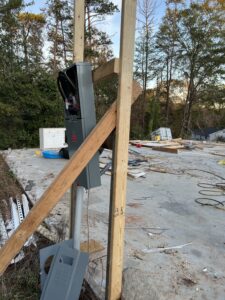
Teardown pictures:
Planning the New Workshop
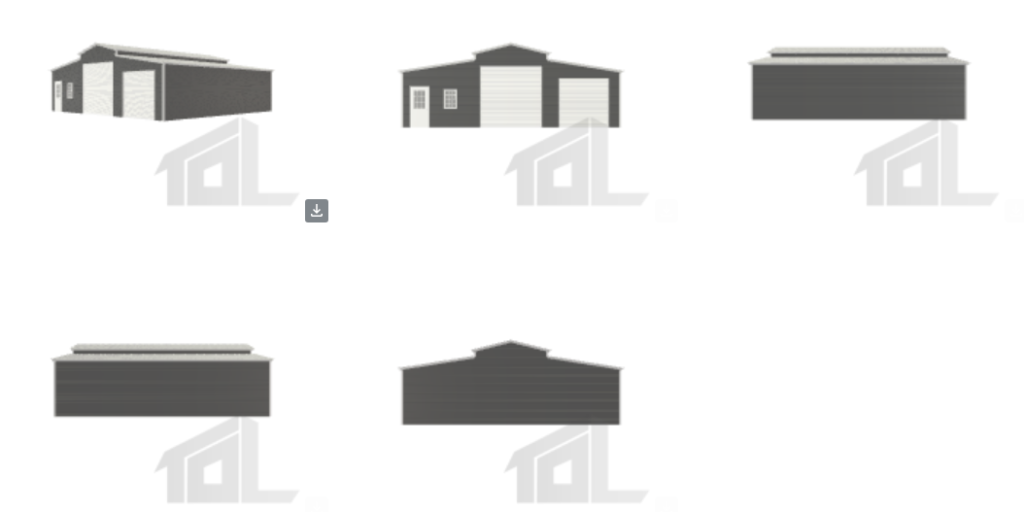
The new structure will closely resemble the original, but with a few differences in the doors and windows. As I plan its construction, I’m determined to make it better than before. There’s something empowering about taking what was lost and turning it into an opportunity for growth. I envision a space that is not only functional but also more resilient, reflecting lessons learned from the storm.
The journey ahead won’t be easy. Rebuilding takes time, patience, and a great deal of effort. Yet, this process also allows for creativity and renewal. I’ll be documenting this journey, sharing the highs and lows as the new shop takes shape. From clearing debris to laying the foundation and crafting a space that meets my evolving needs, I hope this blog becomes a testament to resilience and perseverance.
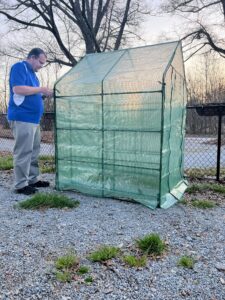
How it started, we used our little green fabric greenhouse from amazon for about 2 years. If your interested in one I’d recommend this one.
Inspired by Roots and Refuge greenhouse build as seen here:
The initial design was planned to resemble Miah’s build, but after assembling the floor, I had a bright idea: why not add an A-frame roof? This would allow me to hang a chandelier inside, creating a unique touch. While I don’t have an exact copy of the plans I used, the most important factor to consider when building one is sourcing the windows. We were fortunate to find someone on Facebook Marketplace who had all the windows we needed. However, once I started arranging the windows—both in my mind and by mocking them up—we stumbled upon a stunning stained glass window from an old church. That piece truly changed the design’s character. If I can locate the original plans I used, I’ll link them here. For now, though, let me share some progress pictures. Apologies for not documenting every step—it was a project spread out over several months, with work happening mainly on the weekends.
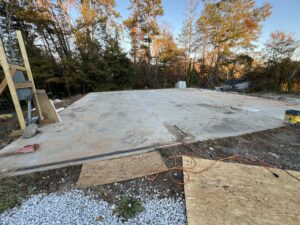
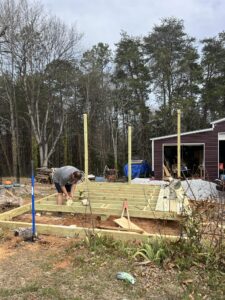
Starting out with the initial layout I built the from of the decking so that if I ever need to “move” it i can cut the legs and move it. You’ll notice in the picture that the rear 3 post are quite tall. At this point I had not decided to do the a-frame. Also added a little deck to the front.
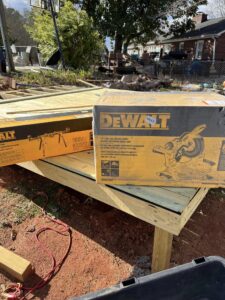
While laying down the decking I grew tired of the chop saw I was using and went out and purchased this DeWalt saw, best idea ever. The saw was on sale at Home Depot and included a stand. You can find it on amazon too. It is the DWS780.
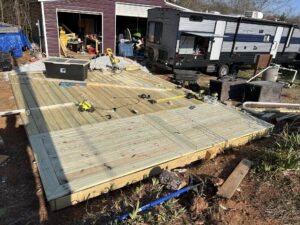
I tried some fancy boarding for the deck section, it was good practice for when I rebuild my porches. I would next time though not do the arrow like feature.
Walls going up, double 2×4’s. If I had to do it over different I may have taken a different approach.
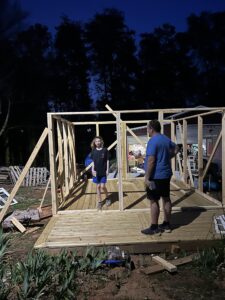
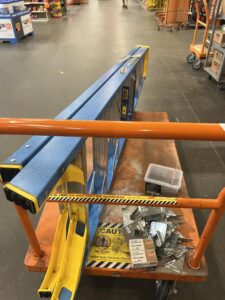
Building the roof trusses and while I love my little folding ladder it wasn’t cutting the mustard so my lovely wife sourced a nice ladder. That made the project so much easier, oh and the ton of hurricane ties, screws, etc. lol
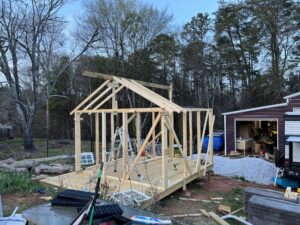
All the windows and doors going in, I don’t have a picture of the stained glass window but you will see it in future photos.
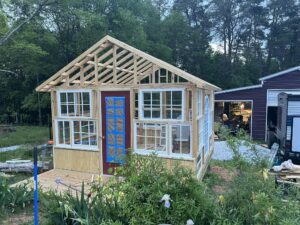
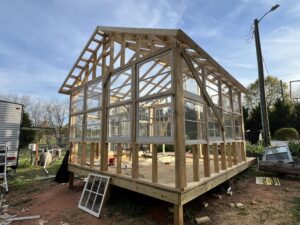
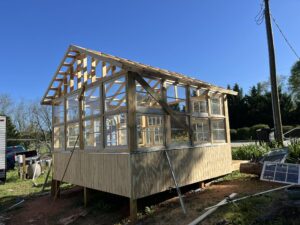
Time to add some paint, I purchased a grayco paint sprayer so we didn’t have to brushpaint the entire thing. If your interested in looking at one this one on amazon is the one I purchased and now its cheaper of course lol. (https://amzn.to/4fszokP)
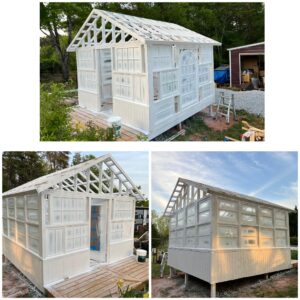
Installation of front and rear ventilation done, and some nice soffits. Corrugated plastic panels for the endcaps and flashing.
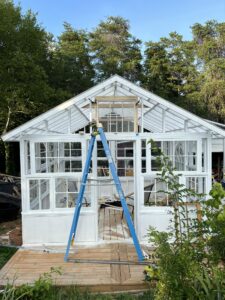
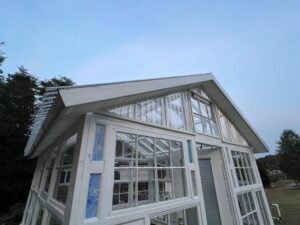
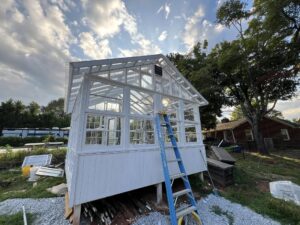
Stained glass windows (the smaller ones) were created. First time I have built window frames. As you can see the focal point of the greenhouse is the massive stained glass window from the old church.
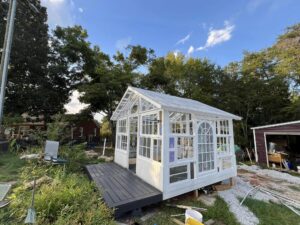
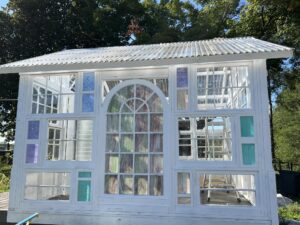
Outside completed. Check back for future post about building interior shelving, electrical, and more
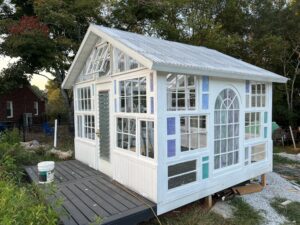
Give Peas a Chance
Even if you have to do it scared- just do the thing.
~Jessica Sowards (more or less)
Yesterday was mild in temperature here in Upstate South Carolina, but the brief sun woke many thoughts and quite a bit of self-doubt.
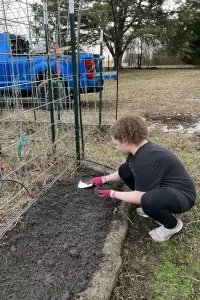
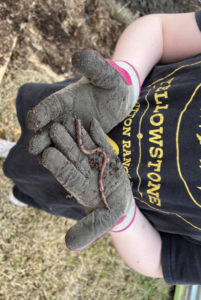
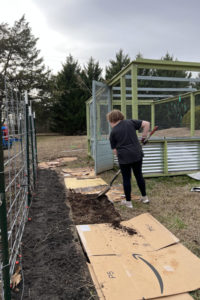
I worked for a bit in the morning, Noel was home with the boys for the school holiday. After a few hours in the office, I brought home lunch, we had some friends over, hung out, and played in the garden. The remainder of last year’s plants were pulled, cold hardy weeds plucked from their advantageous homes, and mushroom compost spread over the in-ground beds. Some cardboard was laid down with mulch over the top in hopes to avoid at least some of the grass that plagued us last year. Many huge earth
worms were evicted from the warm pile of mulch, but don’t worry… My young friend consoled each one she found, offered some advice and words of wisdom, then gently decanted them into the freshly turned earth.
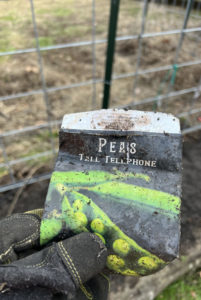
The calendar looks mild for a while, so I decided to take a chance and let her plant some peas. I rifled thru my seeds and had her choose- this day Baker Creek Tall Telephone peas and Ferry Morse Early Perfection won the honor of the long cattle panel trellis.
Little round green promises of dainty pink blossoms, grabby and demanding tendrils, and pods of sweet spring peas were tucked in with their worm friends and asked to grow and do their best for us.
Much in the same way I would like to grow and do my best for you. I have a pull in my soul for Golden Afternoon Homestead. This project has become a heartbeat for me. I registered my LLC and did a few more official paperwork steps… But I keep asking myself why? Why do I want to put ourselves out there? Why do I want to do this? I am sacrificing my privacy and quiet, dangling myself out there and practically asking for some shark to take a bite of me. I feel vulnerable, mostly because I absolutely do
not know what I am doing. I know what I want to accomplish, yes. I want to be as self-sustainable as possible, but why do I want to do this in a public way? There are so many content creators out there, why am I naive enough to think I could possibly be of additional help to anyone?
Then a moment of dawning when my youngest son bounded across the pool deck above the garden, Nerf gun in hand, beckoning play from my guest helper and a snack from me that he is perfectly capable of finding on his own… Many homesteaders ‘out there’ on youtube and in other social media have so much to offer and I have learned and applied so much of their wisdom to our own adventure… but very few (if any) ‘look like’ us.
Noel and I both work a full time job, we have two adolescent boys, one eleven and one eight. They are active and we’re often busy. We have very little family close by- we have a small ‘village’ of chosen family, but it’s small in comparison. We just don’t have much time in the day to dedicate to homestead tasks. We also live on not quite two acres inside ‘city’ limits with many current restrictions on how land is used. We have a pool taking a good chunk of space, a camper to maneuver into its spot, and much of
our front yard is unusable because of a severe slope. All these limitations, but self sufficiency is still important to us. Like-minded community is important to us. With our economy and social situation going the way it is… I know there must be so many other busy families in the trenches with school age and younger children who are trying to figure out how to just do this. So many other adults going into the grocery store and seeing shelves of product cleared and produce managers exasperated with their
inability to offer goods at prices that families can afford. How many other husbands are sent to the store to grab a bag of carrots to be told that the only full-size ones available were SINGLE organic giant carrots at $4.28 each. Yes. A single carrot. There must be more families out there who look like mine who are afraid of just taking the jump. So many who are even more unsure of how to just get started than I was two years ago.
I’ll take the jump with you. If I can do this- you can too. Every step you make in the direction of being self sufficient is a positive one- even when you have to face the challenges of working out of the home or shuffling children to activities. If I can convince just one of you that you have what it takes to live your homesteading dream in the place you are now- then just you wait. Just you watch. We might be scared-
but we can do this together. Let’s grab our gloves and roll up our sleeves.
Enjoy your Golden Afternoon.
With love,
Angela
Garden Build (Raised Beds)
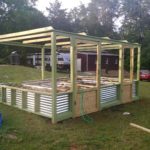
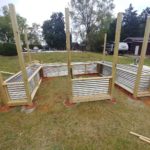
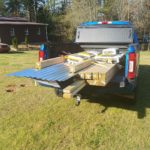
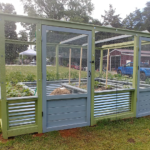
We constructed a raised bed garden using a modified version of plans from the YouCanMakeThisToo YouTube channel (as seen in the video). We altered the plans to incorporate metal and to include one larger door for improved accessibility when moving items in and out with a gorilla cart.
The original plans can be found on https://www.ycmt2.com/store/largegardenplans.
