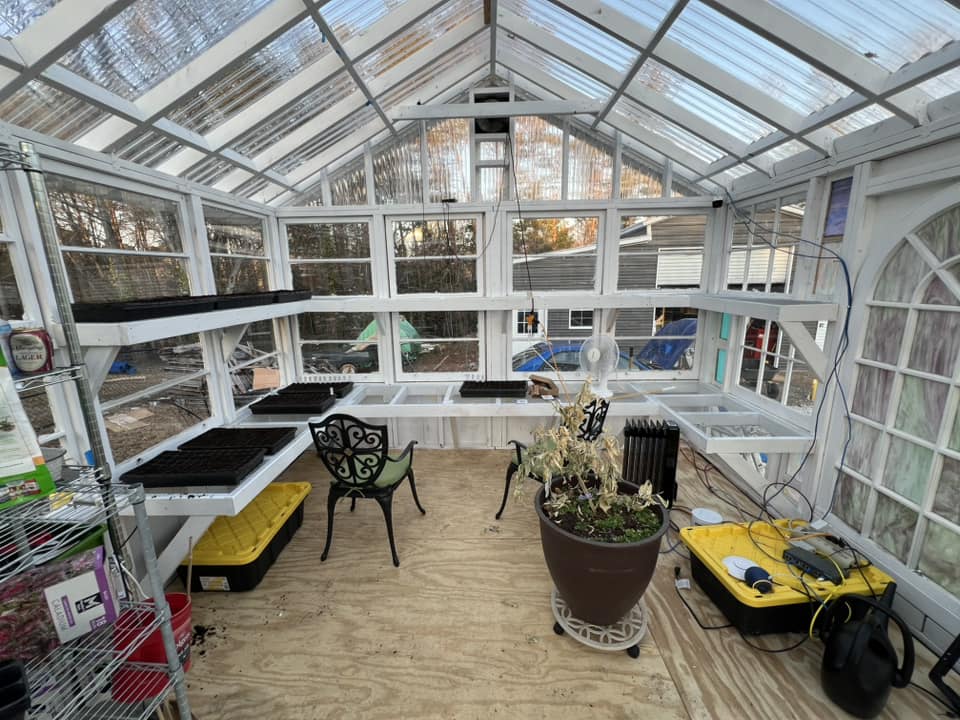
Adding shelving to your greenhouse is an excellent way to maximize space, improve organization, and create an efficient growing environment. Whether you’re a seasoned gardener or just starting, well-built shelves can provide ample room for seedlings, potted plants, and gardening tools. This guide will take you through the process of constructing, painting, and installing wire mesh on your greenhouse shelves. The floor in the greenhouse is temporally covered for winter mode since it is built off the ground.
Step 1: Planning and Gathering Materials
Before you start building, it’s essential to plan out your shelving layout. Consider factors such as:
- The size of your greenhouse
- The types of plants you’ll be placing on the shelves
- Accessibility and airflow
Once you have a plan, gather the following materials:
- Pressure-treated wood or weather-resistant lumber (for durability)
- Screws and brackets for securing the shelves
- Wire mesh (hardware cloth or galvanized mesh)
- Wood stain or paint (for added protection)
- Saw, drill, and measuring tape
- Sandpaper
- Paintbrush or roller
Step 2: Constructing the Shelving
-
- Measure and Cut: Use a measuring tape to mark and cut the wood to the desired length and width for your shelves. Sand the edges to prevent splinters.
- Assemble the Frame: Create a sturdy frame by attaching support beams to the sides of the greenhouse or using freestanding shelf supports. Secure them with screws and brackets for stability.
- Attach the Shelf Base: Position the wooden planks on top of the frame and secure them using screws. Make sure to leave small gaps between planks to allow for proper drainage and airflow.

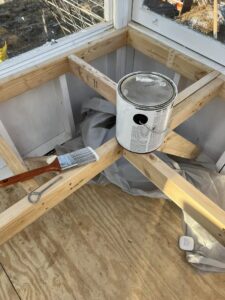
Step 3: Painting for Protection
Greenhouse shelves are exposed to humidity, moisture, and temperature fluctuations, so painting or staining the wood is essential.
- Choose the Right Finish: Use an outdoor wood stain or waterproof paint to prevent rotting and warping.
- Apply Paint or Stain: Use a brush or roller to coat the wood evenly. Let it dry completely before applying a second coat for added protection.
- Allow to Dry: Ensure the paint or stain is fully cured before proceeding with installation.
Step 4: Adding Wire Mesh for Stability
Wire mesh is a great addition to greenhouse shelves because it improves drainage, increases airflow, and prevents water buildup.
- Cut the Mesh: Measure and cut the wire mesh to fit the shelf dimensions using wire cutters.
- Secure the Mesh: Staple or nail the mesh onto the wooden planks, ensuring it is tightly stretched and secured at the edges.
- Smooth Out Edges: Use pliers to bend any sharp edges to avoid injury while handling plants. or add trim pieces to cover the edges.
Final Thoughts
With sturdy shelving in place, your greenhouse will be more organized and functional. The combination of painted wood and wire mesh provides durability, aesthetics, and practicality. Whether you’re growing herbs, flowers, or vegetables, these shelves will help create a thriving growing environment.
Now that your greenhouse shelving is complete, it’s time to arrange your plants and enjoy the benefits of a well-structured gardening space!